Some of the greatest potential for flood and fire comes from your washer and dryer. Here’s how to cut the odds
Left unattended, a burst washing-machine hose can spill hundreds of gallons of water an hour. Likewise, a dryer can erupt in flame if lint is allowed to build up inside the machine or its ducts. In 1999 (the most recent data available), dryers caused 14,600 fires, 20 deaths, and $86.8 million in property damage in the United States.
Preventing such mishaps is as easy as replacing a washer’s old rubber hoses, ideally with steel-jacketed ones that can’t split open. Or discarding the dryer’s flimsy and flammablevinyl duct and putting a metal one in its place. (Regular lint-trap cleaning, while necessary, won’t keep lint from collecting in the duct.)
Once you’ve made those two major upgrades, as shown on the following pages, get in the habit of checking hoses and cleaning ducts every six months or so. Hoses should be replaced every five years; tag them with the date you installed them so you won’t forget. Your appliances will last longer, run better, and use less energy. Here, Richie Isaacson of Affordable Appliance, in Randolph, Massachusetts, shows how to keep a washer and dryer running safely and efficiently.
STEP ONE // How to Maintain a Washer and Dryer
Remove the Old Hoses
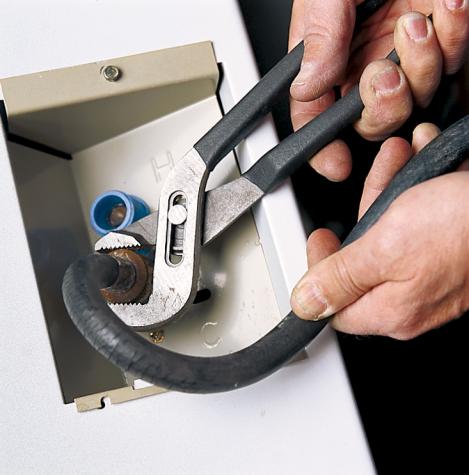
Turn off the hot and cold water valves, unplug the washer’s power cord, and remove the drain hose from the drain. (If the drain hose has cracks, replace it with the same type of hose.) Put a towel or tarp under the supply hoses to catch any water, then remove the hoses with a pair of grooved-joint adjustable pliers.
STEP TWO // How to Maintain a Washer and Dryer
Clean the Filter Screens
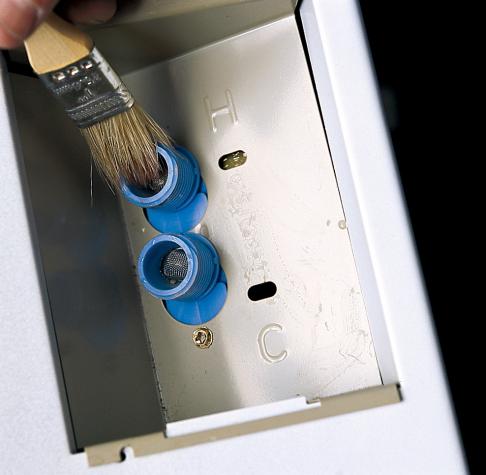
Debris and sediment will slow the flow of water into the machine. Check the filters, and clean out any buildup with a bristle brush.
STEP THREE // How to Maintain a Washer and Dryer
Install New, Braided Hoses
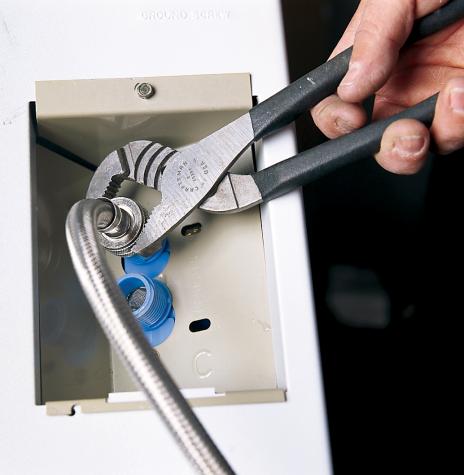
Use your fingers to screw the hose fittings onto the machine’s threaded nipples, then tighten gently with pliers. Make sure the hose is long enough to allow you to move the machine if necessary; 60 inches is convenient for most installations.
STEP FOUR // How to Maintain a Washer and Dryer
Hook Up the Water Supply
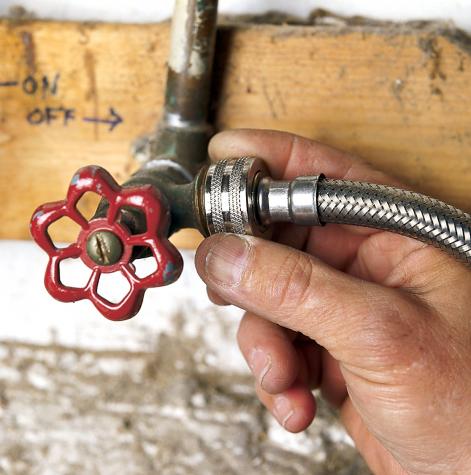
Connect the other ends of the braided hoses to the water-supply bibs as in Step 3. Make sure to match the hot hose with the hot-water supply and the cold with the cold supply. Open the valves and check for leaks. Reconnect the drain hose to the drain. But if you’re installing a drip pan (Step 5), reconnect the drain hose after the pan is in place.
STEP FIVE // How to Maintain a Washer and Dryer
Add a Drip Pan
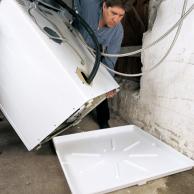
A drip pan under the washer will catch any leaks (and is required in second-floor laundry rooms). Look in plumbing-supply stores or home centers for a pan with a drain so any water that collects can be diverted to a floor drain. You’ll need a helper and perhaps a dolly to lift the washer gently onto the pan so as not to crack it. Then, each time you run a load, make sure no water has leaked out.
STEP SIX // How to Maintain a Washer and Dryer
Clean the Lint Trap
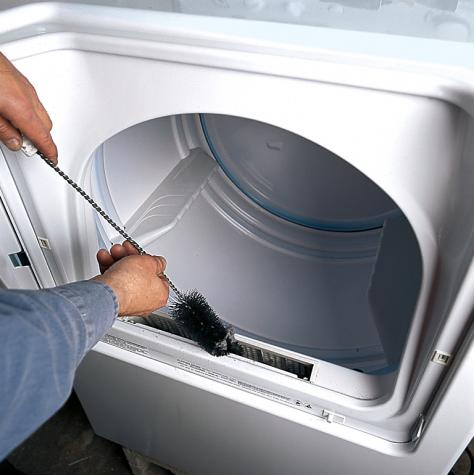
Pull out the lint screen and push a snorkel brush straight down into the trap. Twirl the brush to fish out any globs of lint at the bottom of the trap. (A long crevice tool on a shop vac also works.) Shine a flashlight down the trap to make sure it’s clean.
STEP SEVEN // How to Maintain a Washer and Dryer
Clean the Ductwork
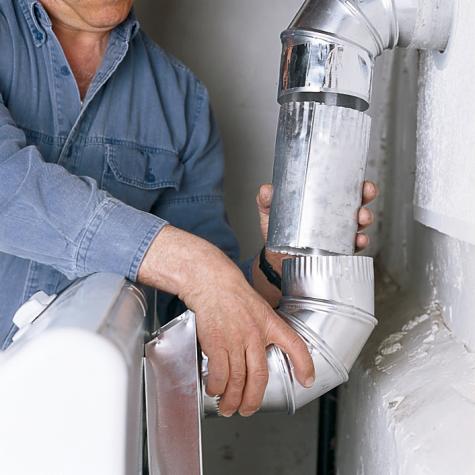
Disconnect the ductwork from the dryer exhaust and from the exterior vent. If the duct is plastic or ribbed metal, toss it out. If the duct is smooth-wall metal, as shown here, take it outside and clean all the parts with a round dryer-vent brush.
STEP EIGHT // How to Maintain a Washer and Dryer
Clean the Outside Vent
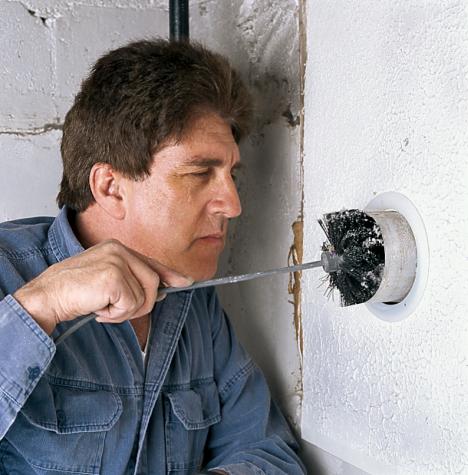
Working from inside, spin the vent brush a few inches into the duct leading outside, then pull it back and clean off the bristles. Repeat until the bristles reach as far as the exhaust hood on the outside wall. (Don’t try to shove the lint out with the brush; you may create a clog.) Then go outside and make sure the vent hood isn’t plugged. If need be, remove the hood, clean it out, and then put it back.
STEP NINE // How to Maintain a Washer and Dryer
Reattach the Duct
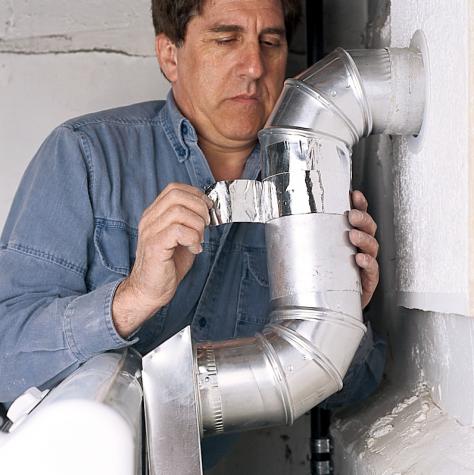
Reassemble the metal ductwork and seal the joints with aluminum tape. (Don’t connect the sections with screws, which snag lint.) The ends of the ductwork should fit snugly onto the dryer’s exhaust and vent hood; no tape or hose clamps needed.


 Tamarac, FL